Install artificial turf yourself
How to lay artificial turf – explained!
A green front and backyard is a desire of every homeowner. Artificial grass may be the best option for you.
Fake grass requires little or no maintenance, is fairly easy to install, and is bright green all year round. It’s a good example of that, isn’t it?
So what exactly else would you need to have artificial grass installed on your property? Let’s take a look at the tools needed for the job and follow a step-by-step installation process provided by our professional landscapers!
The tools needed to lay artificial turf
Although lawn installation is a fairly easy job to do yourself, you will need to invest in the right tools to have a smooth process and have a professional looking installation. Here’s what you’ll need to lay the artificial turf:
Easy to find tools
- Hammer and flat head nails
- Rake, shovel and tape measure
- Utility knife (add some spare blades as well)
- Water
- Synthetic turf binding tape (can be found at any major hardware store)
Special tools
- Finely crushed rock
- Bleached sand
- Power blower
- Compactor
- Excavator (if you are installing synthetic turf on a larger area)
Step 1: Remove existing turf
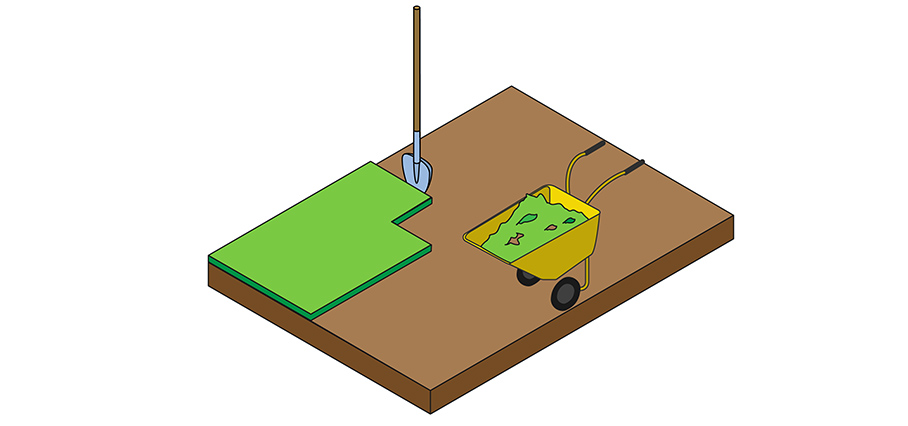
It’s time to start preparing the chosen artificial turf site. To ensure that the fake grass stays in place and retains its good looks, the existing turf needs to be properly excavated.
First, it’s time to clean the base. Remove any rocks, debris or sprinklers that may interfere with the installation of the artificial turf.
Grab your shovel and start digging up the extra soil you won’t need. Dig to a depth of 70 to 80 mm. This will be the bed on which the artificial turf will be laid.
Once you’ve dug the area to the proper depth and desired size, it’s time to take your rake and level the base. Make sure it is smooth, as large chunks can cause problems in future installation steps.
Step 2: Compacting the base for the artificial turf
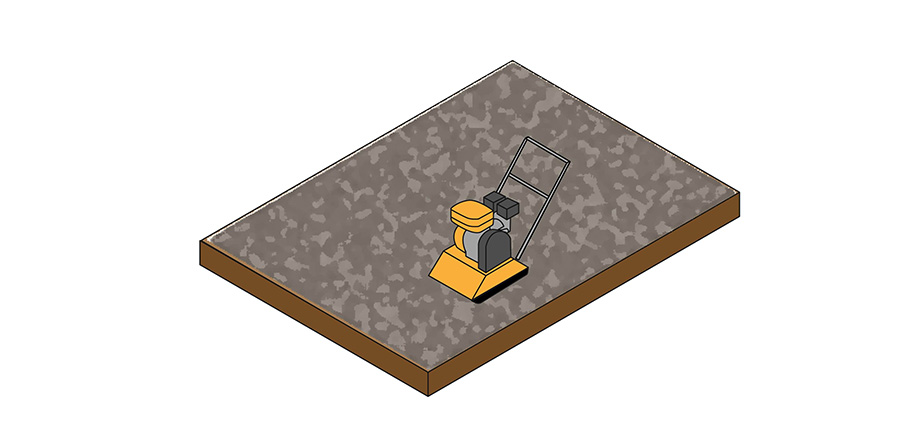
The next step in the installation of your fake grass is to create the perfect base. It is best to use finely crushed rock as the base for your artificial grass.
Crushed rock is readily available at most large hardware stores in Australia, and costs about A$45 per cubic metre.
Evenly distributes the crushed rock base. You can use a rake to lay the sub-base as flat as possible.
After you feel it’s good enough, it’s time to use a compactor to compact the foundation. A vibrating plate will be best for the job.
Spray a mist of water over the crushed rock and use the compactor until the wet base becomes resilient. The perfect depth for an artificial turf sub-base is 15-20mm, so make sure you measure everything once you’ve compacted the crushed rock.
Anything deeper will make the fake grass look sunken into the ground, while anything deeper can result in a raised, unnatural look.
Step 3: Unroll and put the sod in place
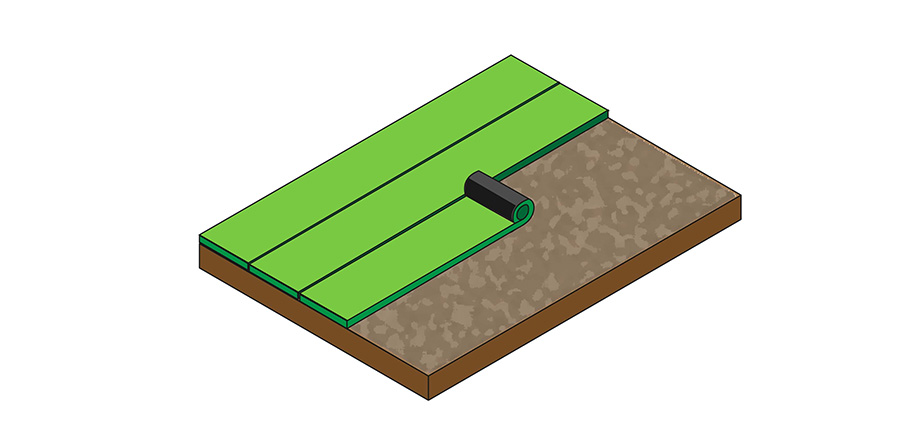
Great! You’re halfway there. Once you’ve compacted the base, it’s time to lay the synthetic turf. It has most likely been stored rolled up, so you should leave it unrolled for two to three hours to allow it to settle into place and even out any creases.
Use a sharp utility knife to mow the lawn. Clean cuts will ensure a proper bond and make the job much easier. Always change the blades if they begin to feel dull. Remove any strips that may be covering an adhesive material.
Step 4: Laying the artificial turf pieces together
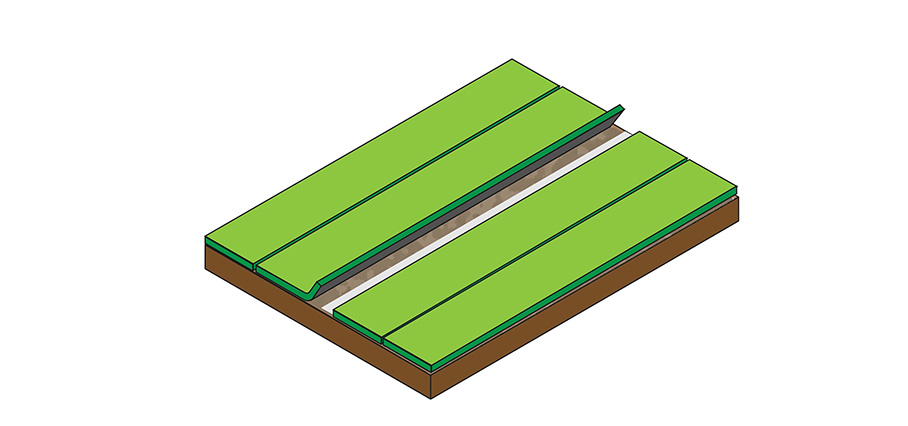
One of the most important steps in making fake grass look real is to ensure that the separate pieces are properly joined together.
<Make sure that the separate pieces of turf are as close together as possible. It is important that they do not touch and do not overlap. A small gap (only a couple of millimetres) is more than enough.
Unroll the grass tape along the entire length of the fake lawn. Once you have laid the grass pieces and the artificial grass tape, pinch the adhesive protection of the tape and put the tape in place along the entire length of the joint. To make sure everything is secured in place, walk over the attachment point a couple of times.
Step 5: Trimming the pieces of fake grass
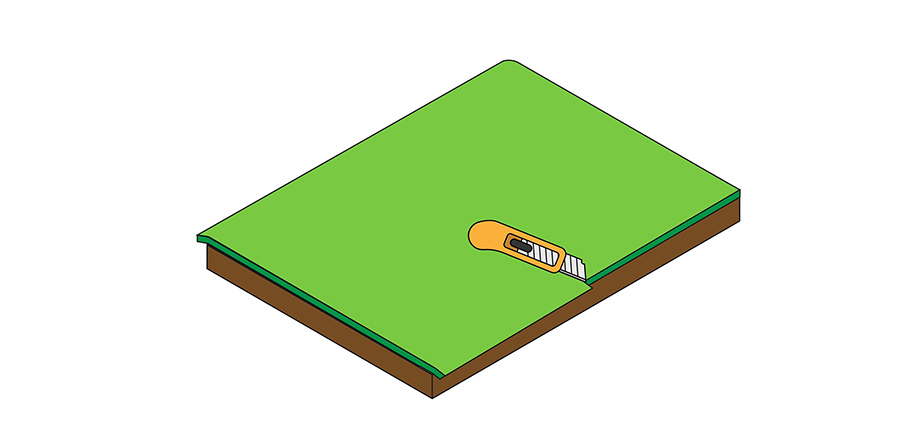
With the pieces together and comfortably seated in your bed, it’s time to walk around the edges of the lawn and trim any pieces that may be sticking out of the desired spot.
Take the same sharp utility knife (change the blade if you haven’t already) that you used before and cut out everything you think is unnecessary.
Step 6: Adjusting the sod and putting it in place
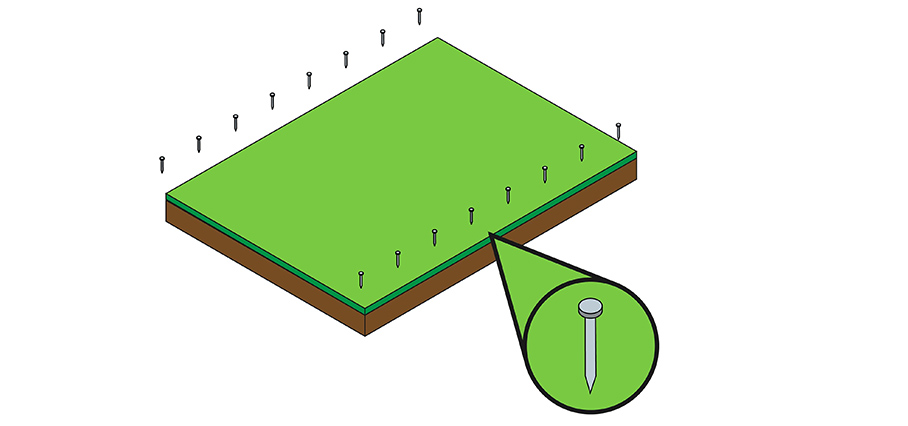
Almost ready! The grass clippings are together, perfectly laid in their bed, but you’ll be playing with your pets maybe, the kids will be running around, a barbecue or two might take place this month… all of this will affect your fake lawn. In other words, it’s time to make sure your new synthetic grass stays in place, after which you can also pick up some tips on how to keep the artificial synthetic grass clean.
But first, grab your hammer and the flathead nails we mentioned you’ll need earlier in the article. It’s best if you use a thin nail (so it’s not noticeable from above) and nail the sod along the edges. Place a nail every 25 to 30 cm.
Step 7: Protect and sand the lawn
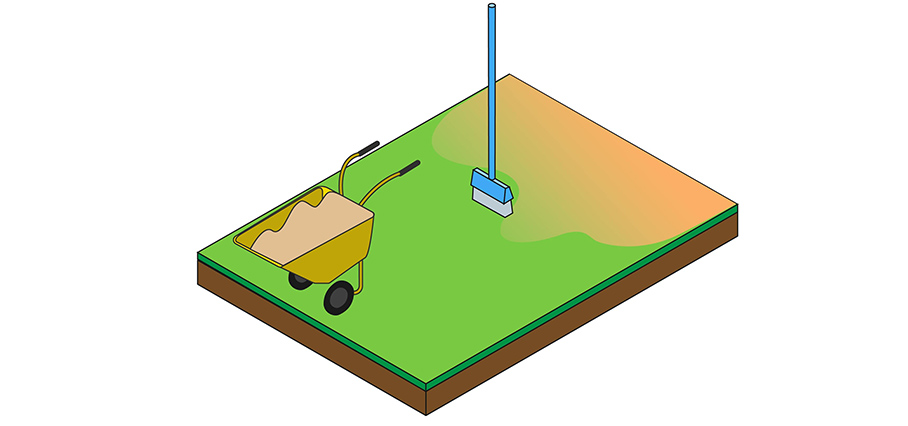
The little things add up to a natural looking lawn. You will need about 12 kg of sand per square metre of fake grass.
Gently spread the sand across the artificial turf. Use the rake to gently spread the fine sand and make sure it is even throughout the area.
You can also use an eyedropper to spread the sand. However, if you are working in a larger area we advise you to rent a sand spreader.
